Wedding Website QR Code Made Simple and Scan Ready
Learn how to create a wedding website QR code that guests actually scan. Design, link, print and test tips for flawless uploads.
From first scan to shared album
See wedding website qr code made simple and scan ready from the guest’s side.
Learn how to create a wedding website QR code that guests actually scan. Design, link, print and test tips for flawless uploads.

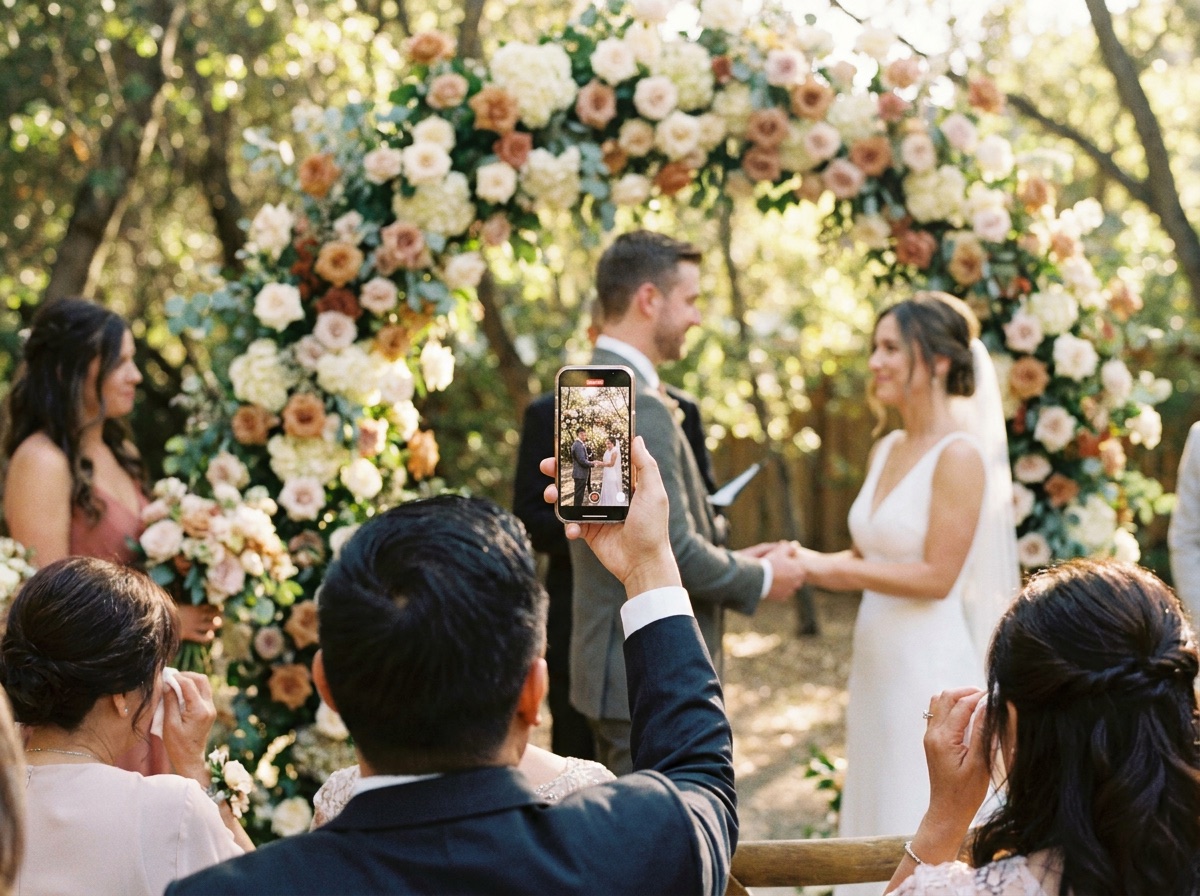






The photographer is busy, the dance floor is full, and guests are already holding the best candid moments on their phones. Someone asks where to send a picture, another person starts a group chat, and by the next morning your memories are scattered across conversations, devices, and compressed downloads. A well-planned wedding website QR code gives everyone one clear route from their camera to your wedding information or private guest album.
The code itself isn't the hard part. The details around it determine whether guests scan confidently in a dim reception venue, understand what happens next, and feel comfortable uploading personal photos. This guide focuses on those practical details, from the destination page and browser experience to print size, lighting, testing, moderation, and privacy.
Table of Contents
- Introduction That Makes Your Wedding Website Instantly Scannable
- How Wedding Website QR Codes Work for Guests
- Creating and Linking Your Wedding Website QR Code
- Designing Print Ready QR Cards and Signage That Get Scanned
- Testing Troubleshooting and Privacy Tips for Flawless Scanning
- Final Checklist Before You Share Your QR Code
Introduction That Makes Your Wedding Website Instantly Scannable
A QR code works best when it acts as a functional access point, not as a decorative square added at the last minute. Guests might use it to RSVP, check directions, read the timeline, or upload photos from the ceremony and reception. Each purpose needs a destination that matches the promise printed beside the code.
For guest photos, the strongest experience is simple. A guest points a native phone camera at the sign, taps the prompt, lands in a mobile browser, and uploads without installing an app or creating an account. That matters during a reception, when guests won't want to pause the celebration for a technical setup.
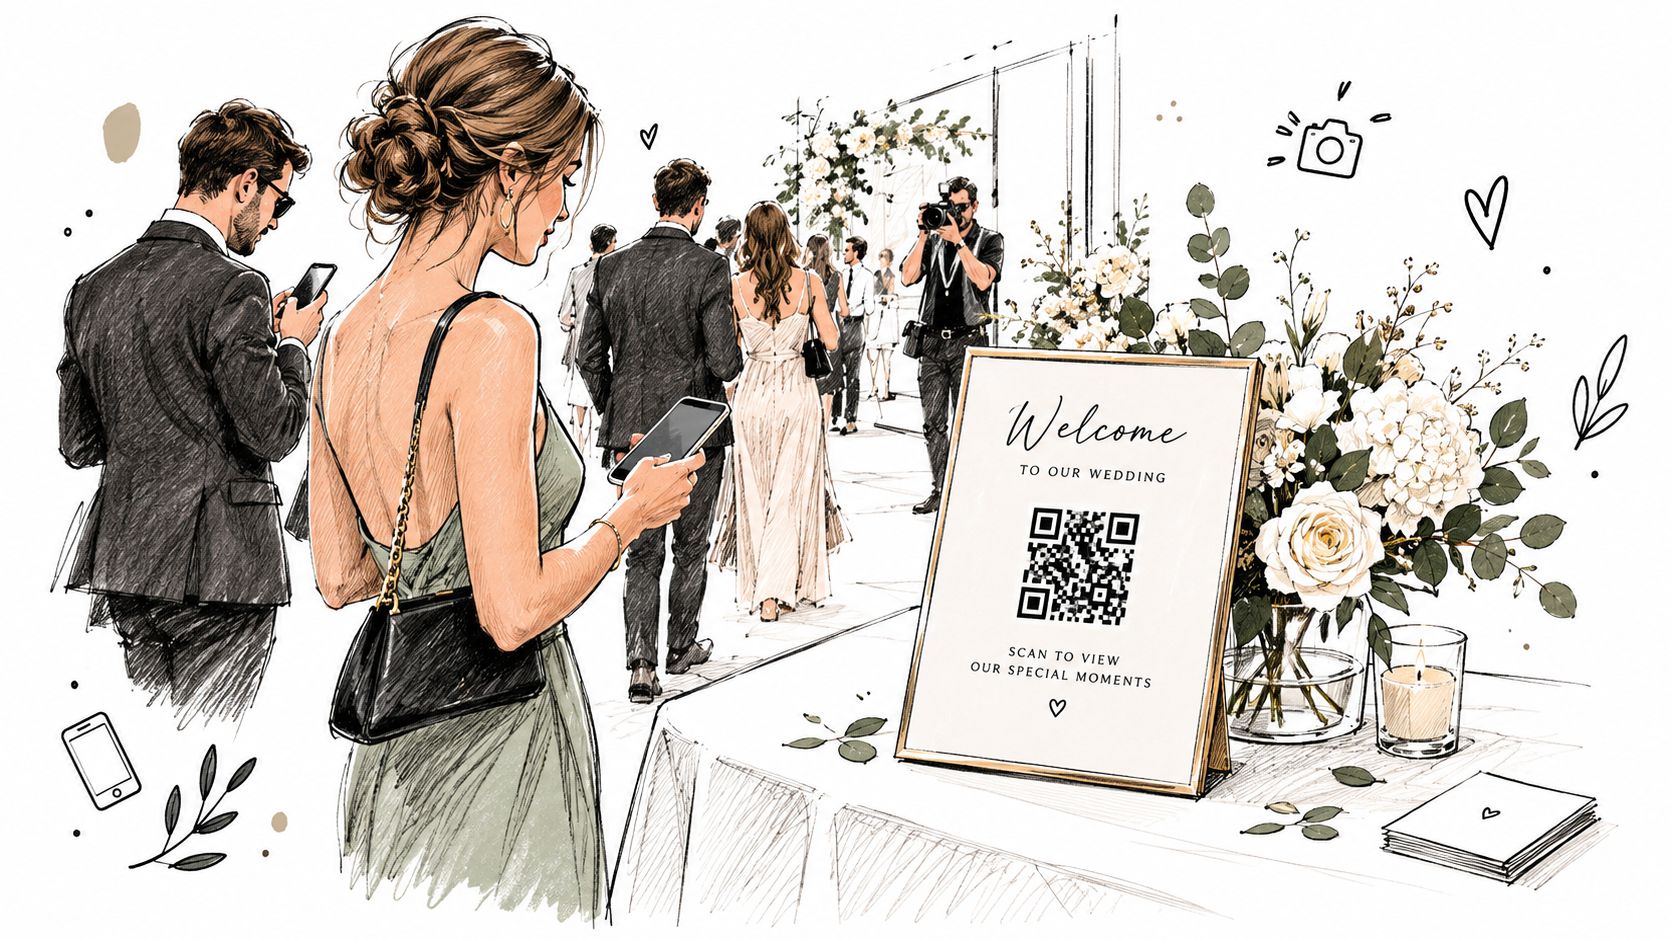
I've seen beautiful cards fail because the code was too small, the page loaded slowly on mobile data, or the sign only appeared behind the bar where guests couldn't get a clear view. I've also seen a plain card succeed because it used strong contrast, a direct instruction, and a destination that opened immediately.
Practical rule: Treat every printed QR code as a doorway. Check the doorway, the path beyond it, and the conditions guests will face when they arrive.
If you're deciding whether the code belongs on an invitation, table card, welcome sign, or photo station, compare the use case with this event QR code guide. The right placement depends on when guests need the information and whether they'll have a free hand to scan.
How Wedding Website QR Codes Work for Guests
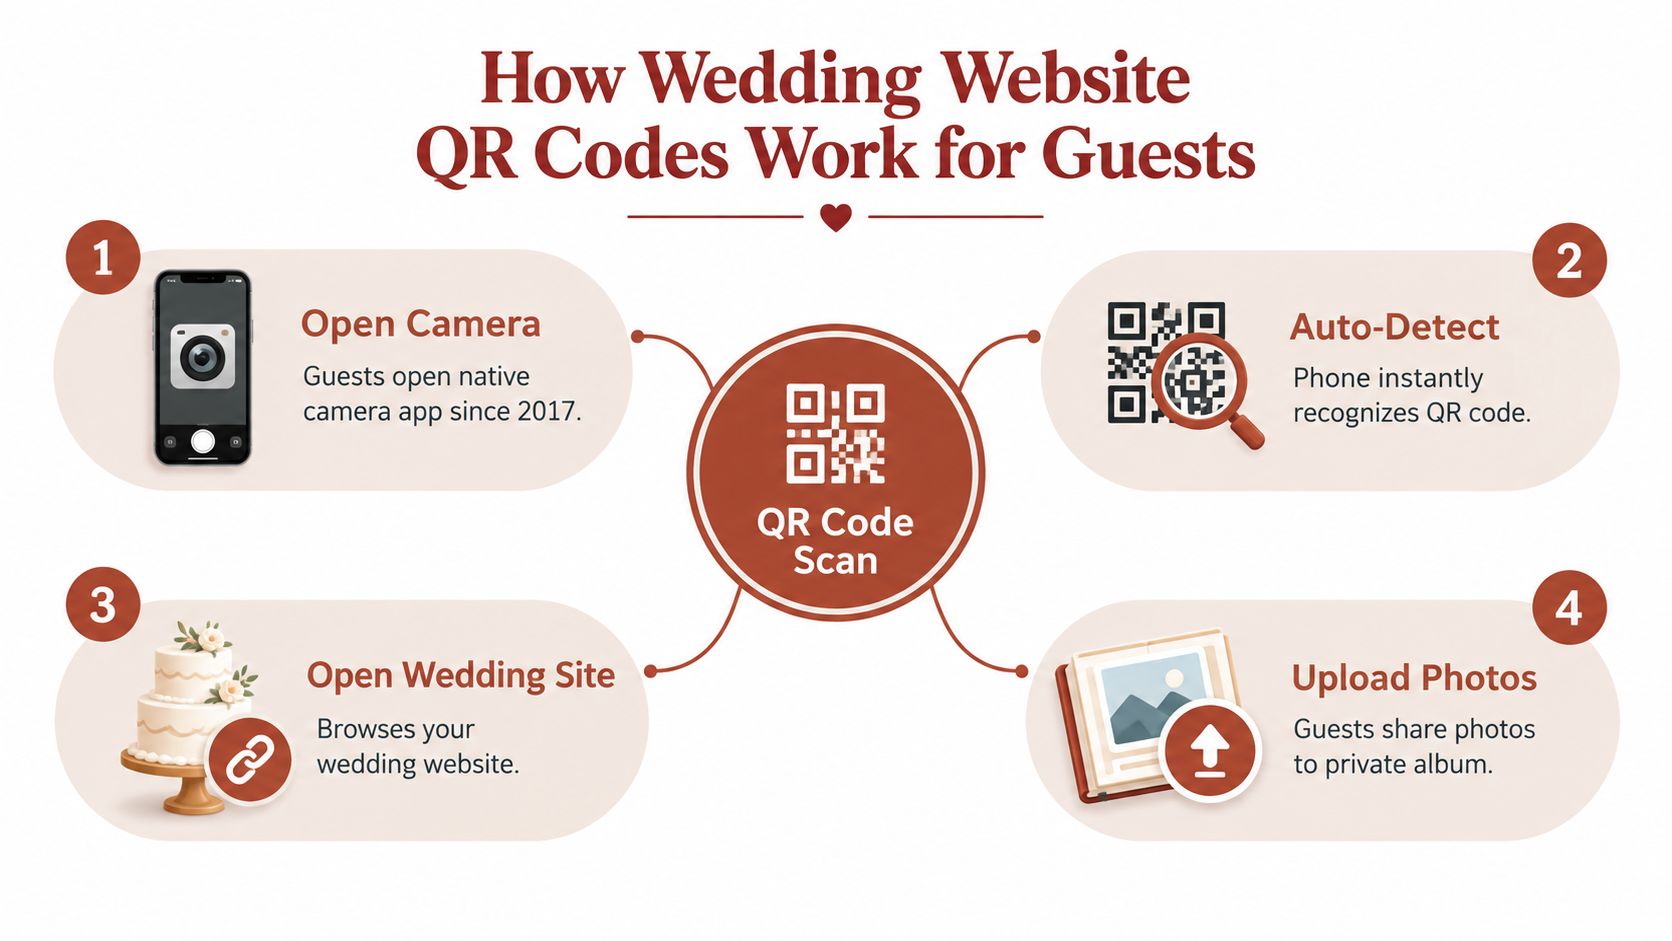
The guest journey should feel almost automatic:
- A guest opens the phone's native camera app.
- The camera recognizes the QR pattern.
- A notification appears with the destination link.
- The guest taps it and opens your wedding page in a browser.
- The page presents the relevant action, such as RSVP, view details, or upload photos.
The technology is mature. Masahiro Hara invented the QR code at Denso Wave in 1994, AIM standardized it in 1997, and it became an international ISO/IEC standard in 2000, as documented in this QR code history overview. Apple added native QR scanning to the iPhone camera in iOS 11 in 2017, and Android added native support in Android 9.0 in 2018. Those changes removed a major barrier, because many guests no longer need a separate scanner application.
That mobile behavior suits weddings. One industry report projects 102.6 million U.S. smartphone users will scan QR codes in 2026, compared with 89 million in 2023, while reported mobile scan usage ranges from 85% to 89% in the same QR code statistics report. The practical conclusion is simple: build for a phone first.
Choose the destination before you generate
A code linked to your homepage makes sense when guests need several types of information. A code linked directly to an RSVP page or guest upload page removes extra taps and reduces confusion. Independent field research found that 75% of QR scans lead to web URLs, making a browser landing page the natural destination for a wedding flow, as described in this QR usage field study.
Don't send photo contributors to a page filled with registry details, accommodation notes, and your story. Give them one visible button, such as Upload your photos, with clear information about who can view the material and what happens after submission.
Make the page work without an app
A browser-based upload is friendlier to older relatives, destination guests, and anyone who doesn't want another account. The page should load cleanly on mobile data, accept image and video uploads, and avoid requiring guests to remember a password unless you deliberately use a PIN-protected gallery.
Creating and Linking Your Wedding Website QR Code
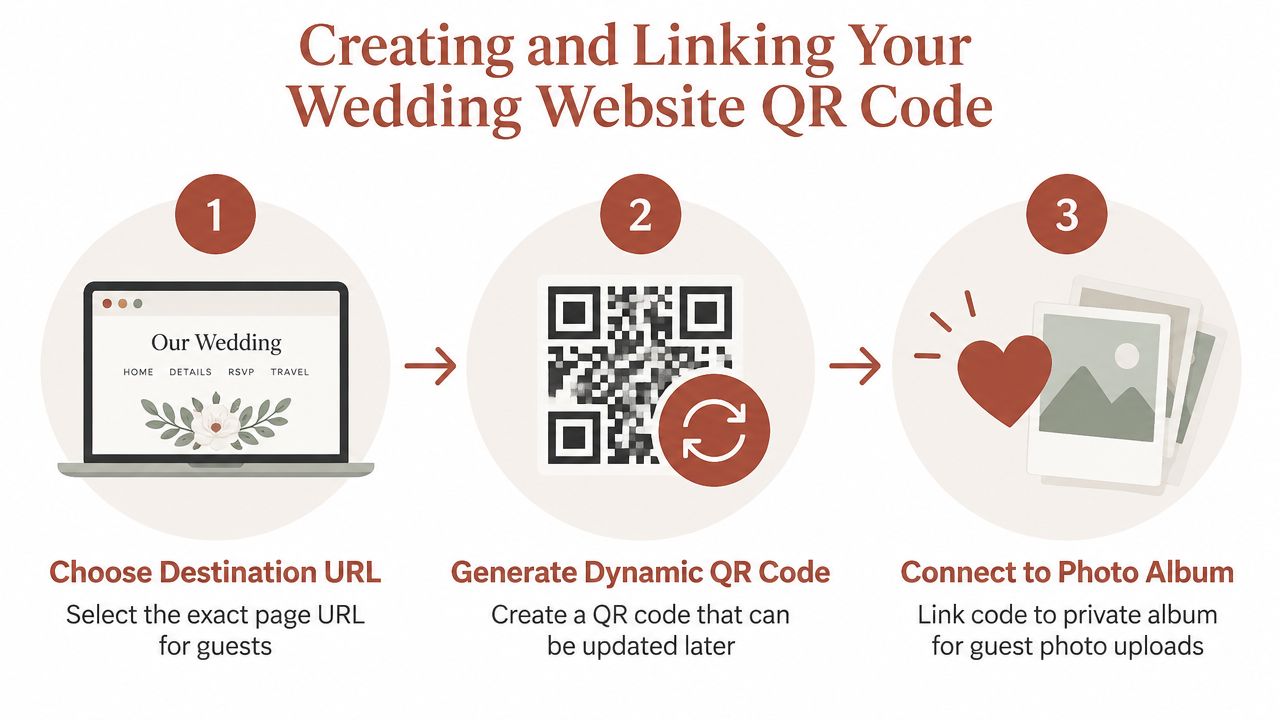
Start with the exact destination, not a generic link copied from a dashboard. Decide whether the code should open your wedding website, RSVP form, guest album, or a welcome page that offers several clearly labeled choices. For photo collection, a dedicated upload page usually creates less hesitation than a general homepage.
A short path is easier to print and easier to type as a backup. If your platform supports a custom address, use a readable version connected to your names or event. The Wedding Pics offers a custom guest URL on its Premium plan, while its QR flow opens in a browser and doesn't require guests to install an app or sign in.
Use an editable destination
A dynamic QR code lets you change the destination later without replacing the printed pattern. That matters if your wedding website changes, the upload page moves, or you decide to direct guests from pre-event information to the live album. A static code can still work well when the URL is final, but it leaves less room for correction after printing.
Before you download the design, scan it from the digital proof. Confirm that the link opens the intended page, the page works in a mobile browser, and the call to action is visible without hunting through menus.
You can create a code with a dedicated wedding QR code generator, then connect it to the live destination used on your printed cards and signs.
Organize one event without creating a maze
One album can cover a welcome dinner, ceremony, reception, and after-party. If guests need clearer organization, use separate sub-albums for different gatherings, but keep the primary sign tied to one recognizable event address. The Wedding Pics supports one event album across multiple wedding activities and offers optional sub-albums, so couples can choose between a single shared stream and more structured collection.
Set access before the code goes public. Options can include an unlisted link, a guest PIN, invite-only viewing, and couple-only downloads. Those settings don't replace thoughtful consent wording, but they give you control over who can browse the gallery and who can retrieve the original files.
Designing Print Ready QR Cards and Signage That Get Scanned
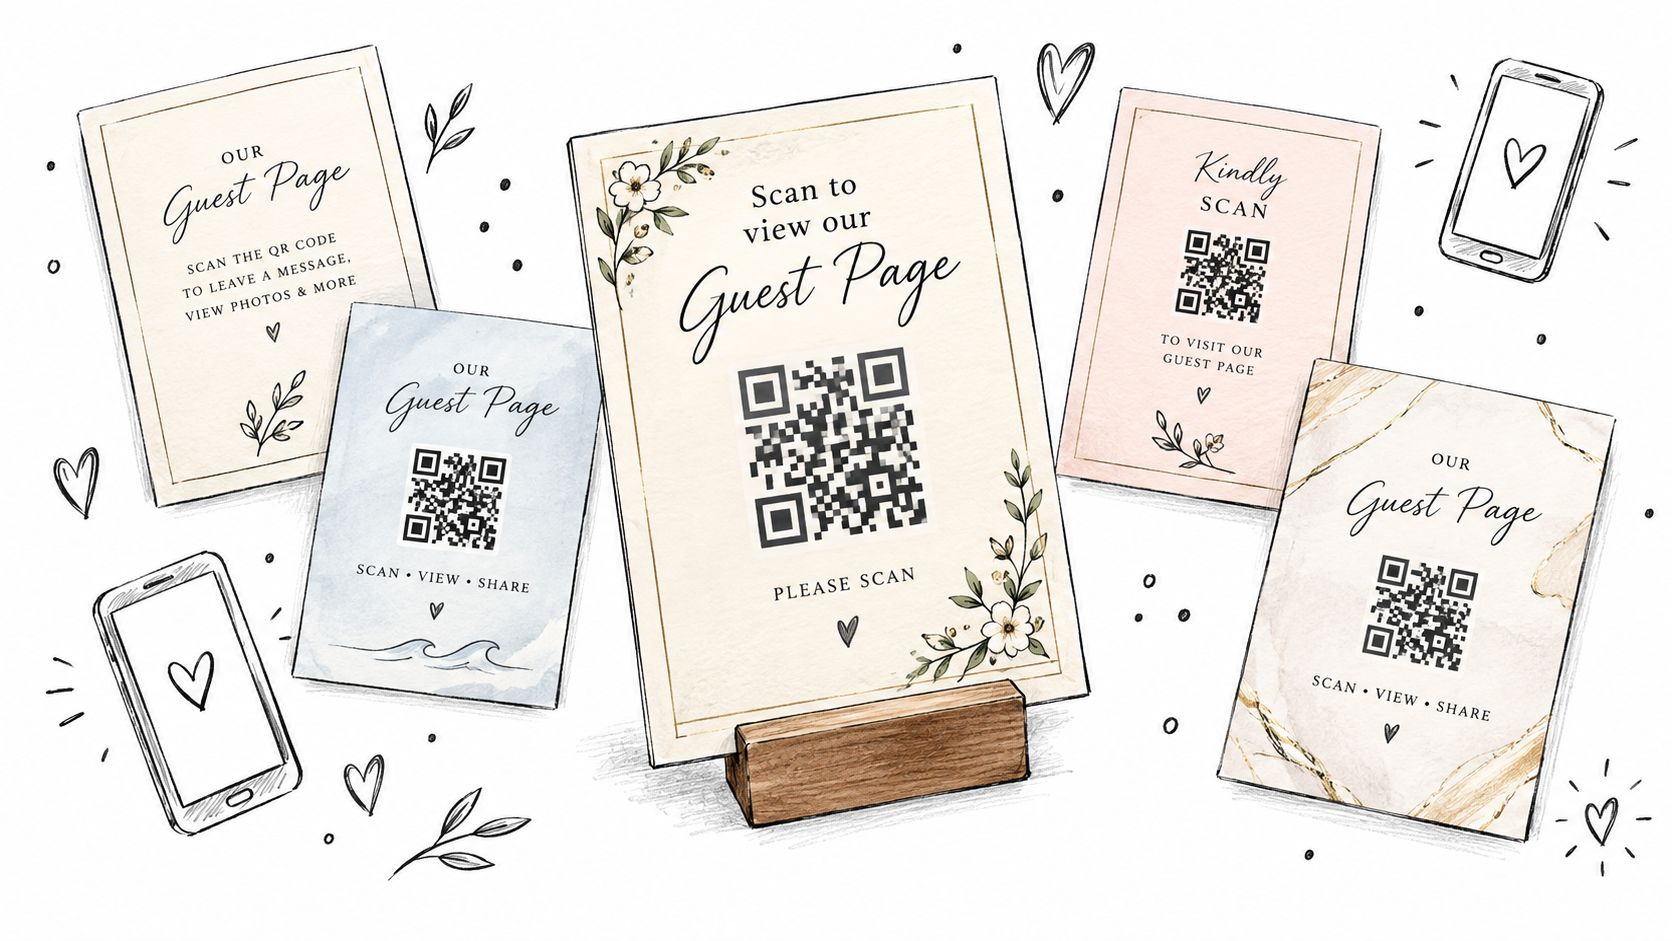
A QR code can match your stationery and still remain highly functional. Keep the surrounding layout calm, protect the blank space around the code, and use strong contrast between the pattern and its background. Decorative colors and overlays should never make the individual squares difficult for a phone camera to distinguish.
The instruction beside the code matters as much as the artwork. “Scan to upload your photos” tells guests what the scan does. “Scan for memories” sounds attractive but leaves the destination ambiguous, especially for someone who hasn't used a QR code before.
Design for the printed object
Choose the format based on where the card will sit. A small table card needs a code that remains legible from a seated position, while a welcome sign needs a larger treatment that guests can frame easily with their phones. The Wedding Pics provides ready-to-print A6 PDF files alongside PNG and SVG assets, which gives you options for both finished cards and custom stationery layouts.
Its guest-page design library includes six looks, including Classic ivory, Soft blush, Calm sage, Champagne, Midnight, and Garden. These styles can help the QR page feel connected to the physical sign, but don't let the theme dictate poor contrast or an overly intricate background.
Place it where guests can stop
Invitations are useful for RSVPs, but reception signage often works better for photo uploads because guests are already moving through the venue. Consider:
- Welcome signs: Give arriving guests immediate access to directions, the schedule, or the upload page.
- Table cards: Put the code where guests can sit, steady the phone, and read the instructions.
- Bar and lounge signs: Catch guests during natural pauses, but avoid glare from glossy surfaces.
- Photo stations: Pair the code with a direct invitation to share the images they've just taken.
- Slideshow areas: Display a scannable version only if the screen is sharp, stable, and easy to approach.
Test the finished design with the wedding QR sign designer, then print a plain-text URL beneath it. The backup doesn't compete with the design. It helps guests who can't scan or prefer typing.
Testing Troubleshooting and Privacy Tips for Flawless Scanning
The most useful test happens under conditions that resemble the wedding, not only on a laptop in a bright office. Print the code at its final size, place it on the actual sign or card, and try it in bright room light and low venue light. Scan with multiple phones, then repeat the upload using mobile data rather than relying only on the venue's Wi-Fi.
A U.S. Census usability test reported that 100% of participants scanned a QR code on a smartphone, with an average time-on-task of 12.4 seconds and an “extremely easy” ease rating. A later round reached 74% task completion, with failures concentrated among people without prior QR experience, according to the U.S. Census usability test. That points to a practical fix: explain the action clearly instead of assuming every guest knows what to do.
Run a venue-style check
Ask someone unfamiliar with the page to scan the sign without coaching. Watch where they hesitate. If they don't understand the camera notification, add a short instruction. If the page opens but the upload button is hidden, simplify the landing screen.
Test the whole path: Scan, open, upload, submit, moderate, and download. A code that opens correctly can still fail at the upload or permission stage.
Blurry printing, glare, low contrast, and a busy background are common causes of trouble. Replace the file with a crisp export, increase contrast, remove decorative interference, and move the sign to a position with a clear line of sight. If the page is slow, reduce unnecessary content and make the upload action the first element guests see.
Treat photo privacy as part of setup
A QR code is an address, not a security layer. If someone photographs or forwards a public sign, another person may reach the linked album. Before sharing it, decide who can view uploads, whether guests can browse other people's media, how children's images will be handled, and whether the couple alone can download originals.
Use moderation when images should not appear automatically in a public gallery or slideshow. Add consent language near the upload button, explain how the photos will be used, and consider a PIN or invite-only viewing for a more controlled event. These choices are covered in this wedding photo privacy guide.
Final Checklist Before You Share Your QR Code
A reliable wedding website QR code is ready when the link, page, print file, placement, and privacy settings agree with one another. Check the destination after every meaningful website change, especially if the code opens an RSVP form or a guest upload page.
Use this final review before printing and again during the week before the event:
- Confirm the destination: Scan the code and verify that it opens the exact page guests need.
- Check the mobile experience: Test the page in a browser on mobile data, not only on your own Wi-Fi.
- Inspect the print file: Look for sharp edges, clear contrast, sufficient surrounding space, and a readable instruction.
- Test the placement: Scan the card or sign at its installed location, in both bright and dim conditions.
- Keep a backup URL: Print a short plain-text address for guests who can't scan.
- Review privacy controls: Set moderation, viewing access, PIN protection, download permissions, and consent wording before guests arrive.
- Plan the collection window: Keep uploads available long enough for guests to share photos after the reception, then export the original files for safekeeping.
Approved photos can feed a live venue slideshow while unreviewed uploads remain private. After the celebration, a ZIP export gives you one consolidated archive instead of a hunt through group chats and individual messages.
Print the tested cards, place them where guests naturally pause, and ask one coordinator to check the signs after setup. Your job on the wedding day is to enjoy the people in the room, not troubleshoot a code that should have been tested beforehand.
The Wedding Pics connects a scannable wedding website QR code to a private browser-based album where guests can upload photos without an app or account. Visit The Wedding Pics to set up your event album, prepare print-ready QR materials, and give your guests one simple place to share their memories.
- wedding website qr code
- wedding QR code
- wedding website guide
- guest photo sharing
- QR code tips